
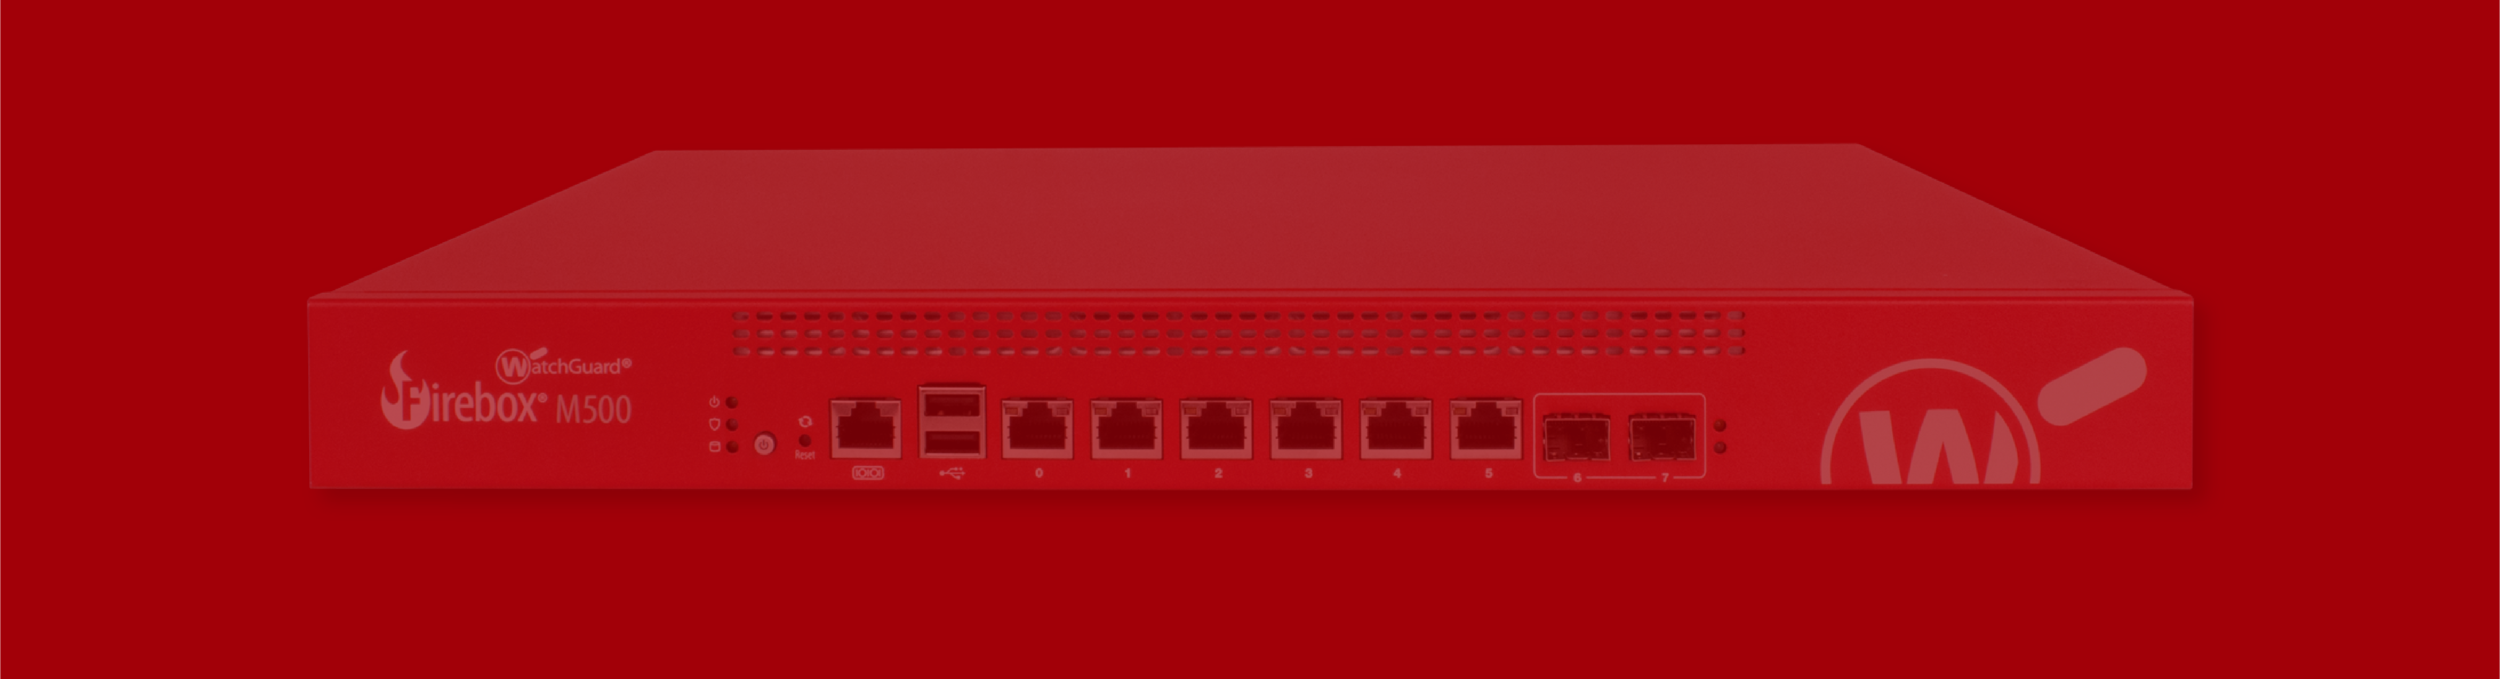
One of the most important steps to take when securing your firewall is to ensure logins to the device are protected. Every WatchGuard Firebox is configured with two default accounts:
Status – This is a read-only account. This account can be used to log into the device, but does not allow for changes to be saved.
The default password for this account is readonly
Admin – This is an administrator account. You cannot log into the firewall with this account if using WatchGuard System Manager, but it is required if you want to save changes to the device.
The default password for this account is readwrite
Updating Default Account Credentials
Given that all WatchGuard firewalls use the same default credentials, it is imperative that these be updated on every device before it is deployed.
1. In Policy Manager, select File > Manage Users and Roles
2. Enter the password for your admin account. If this has not yet been updated, the account’s password will
be readwrite

3. Select the account you want to update, and click Edit to change the password

4. Once you have updated the credentials you wish to change, click OK.
NOTE: Credentials are stored on the firewall, not in the policy. Once you click OK, the changes are saved.

Active Directory Authentication
It is possible to tie in external authentication to the firewall for management as well. This would be a recommended step if you have multiple technicians accessing your firewall, as it will allow for better auditing of who is making changes. This also makes it easier to remove device access. We will focus on Active Directory accounts for this setup.
Before setting up accounts for device management, make sure you have first set up your firewall to be able to work with Active Directory. You can review our previous blog post on these steps here.
In Policy Manager, select File > Manage Users and Roles
Enter the password for the admin account.
Click Add to create a new account
In the User Name field, make sure that you reference the name exactly as it is listed in Active Directory
In the Authentication Server drop-down, select your Active Directory domain

6. Set the account access to the level you wish, and click OK
7. Click OK on the Manage Users dialogue box to save the changes to the firewall