

One of the benefits of DNSWatch is that you can create different policies for different groups of devices. This allows you to create separation of access if it is needed for different users. As an example, you can give I.T. employees more elevated access so they can perform their job functions, while restricting office workers to only what is needed for their day-to-day access.
Create DNSWatch Profile
In the DNSWatch portal, select Configure > Content Filtering Policies
You will see your Default Policy, which you can edit. You can also click Create New Policy

Enter a policy name, and select Save Policy

You can select the Categories tab if you would like to implement content filtering through DNSWatch. You can select either the top-level category, or expand for individual options. Make sure to select Save Categories.

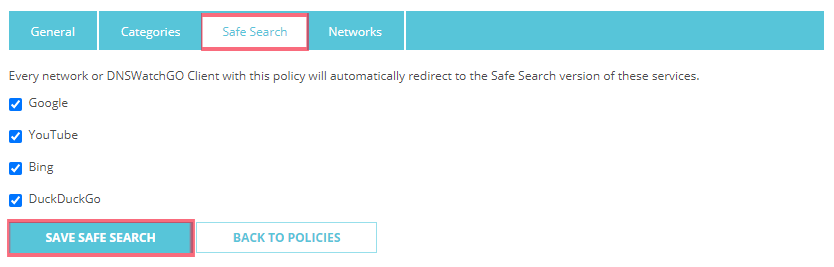
On the Safe Search tab, you can enable this search function through the major search engines. Safe Search is designed to filter out explicit content. Make sure to select Save Safe Search.
Assign DNSWatch Policy
DNSWatch can be assigned either at a network level, or at a device level if you are using DNSWatchGO.
To assign at a network-level:
Inside of the policy, click the Networks tab.
Select the networks you would like to apply the policy to. Make sure to click Save Networks.

To assign to devices through DNSWatchGO:
First, select Configure > DNSWatchGO Client Groups
The Default Group will use the Default policy by default. If you would like to create a new group, click Create New Group

Enter the group name, and select the content filtering policy you would like to apply. Click Create Group

To change a device’s group, locate it in one of the client groups. Devices are included in the Default Group initially. Click Manage on the group it is a current member of.

Check the box next to the computer, and select Move to Group, along with the group you choose.
